In the world of digital documents we generally use the PDF format which was developed by Adobe. But did you know that there is another not-so-popular format called XPS that was developed by Microsoft and offers the same features? However, some users are not able to use this format and want to know how to change XPS file into PDF? This guide will help readers with the best XPS to PDF converter methods that are quick and easy to use.
What Is An XPS File?
The XPS file extension stands for XML Paper Specification which is is a fixed-layout document format developed by Microsoft. It is quite similar to a PDF and based on XML whereas PDF is based on PostScript page description language. Like PDF, an XPS file also retains the original layout and formatting of a document which makes it suitable for sharing, archiving, and printing. It is commonly used because –
- The XPS document format is a print ready format that can be shared easily.
- The layout and appearance of the original document are preserved which makes it appear same on all devices.
Method 1 – Use The XPS Viewer On Windows.
Microsoft offers XPS Viewer app for free on Windows OS. This app can open XPS documents and assist in converting XPS to PDF. Here are the steps.
- Double-click on the XPS file and it should open in the XPS viewer which is a default XPS file viewer in Windows OS.
- If the XPS file is aligned to open in a different program, then press the Windows key, type XPS Viewer and open the app. Then open the XPS document from within the app.
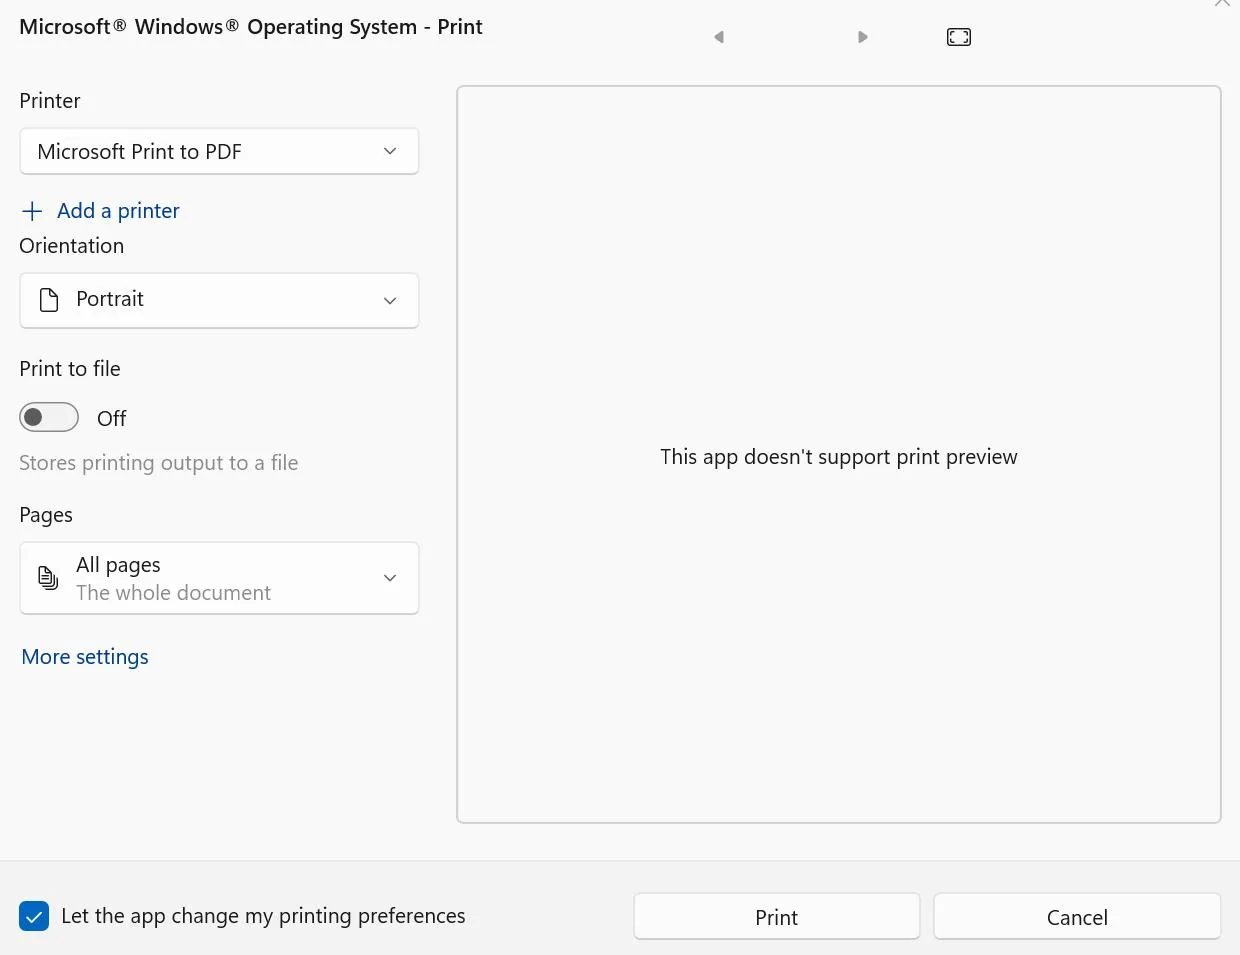
- Once the XPS document is open in the XPS Viewer interface, click on the Printer icon in the top right side.

- Choose Microsoft To PDF under Printer options in the left panel and then click on the Print button located at the bottom center.
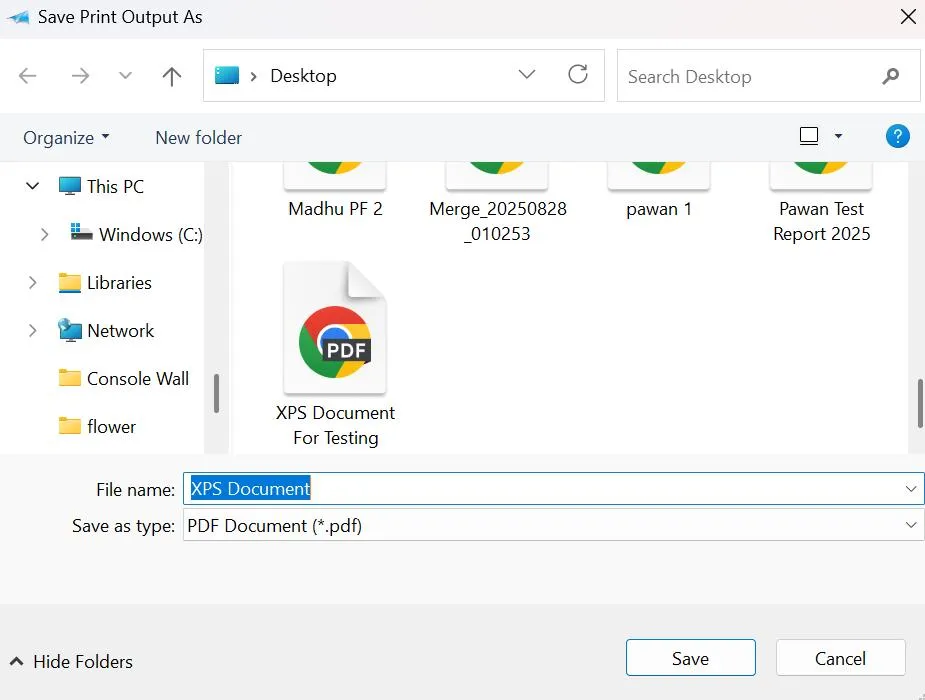
- You will be asked to specify the name of the PDF and location. Click on the Save button.
Method 2 – Use Microsoft Office (MS Word).
The Microsoft Word can also be used to as one of the tool in the conversion process of XPS to PDF. Once you have the content of the XPS document on Word, you can make changes to the text before you save it to a PDF file.
- Open the XPS file in the XPS Viewer app and click on the Printer icon.
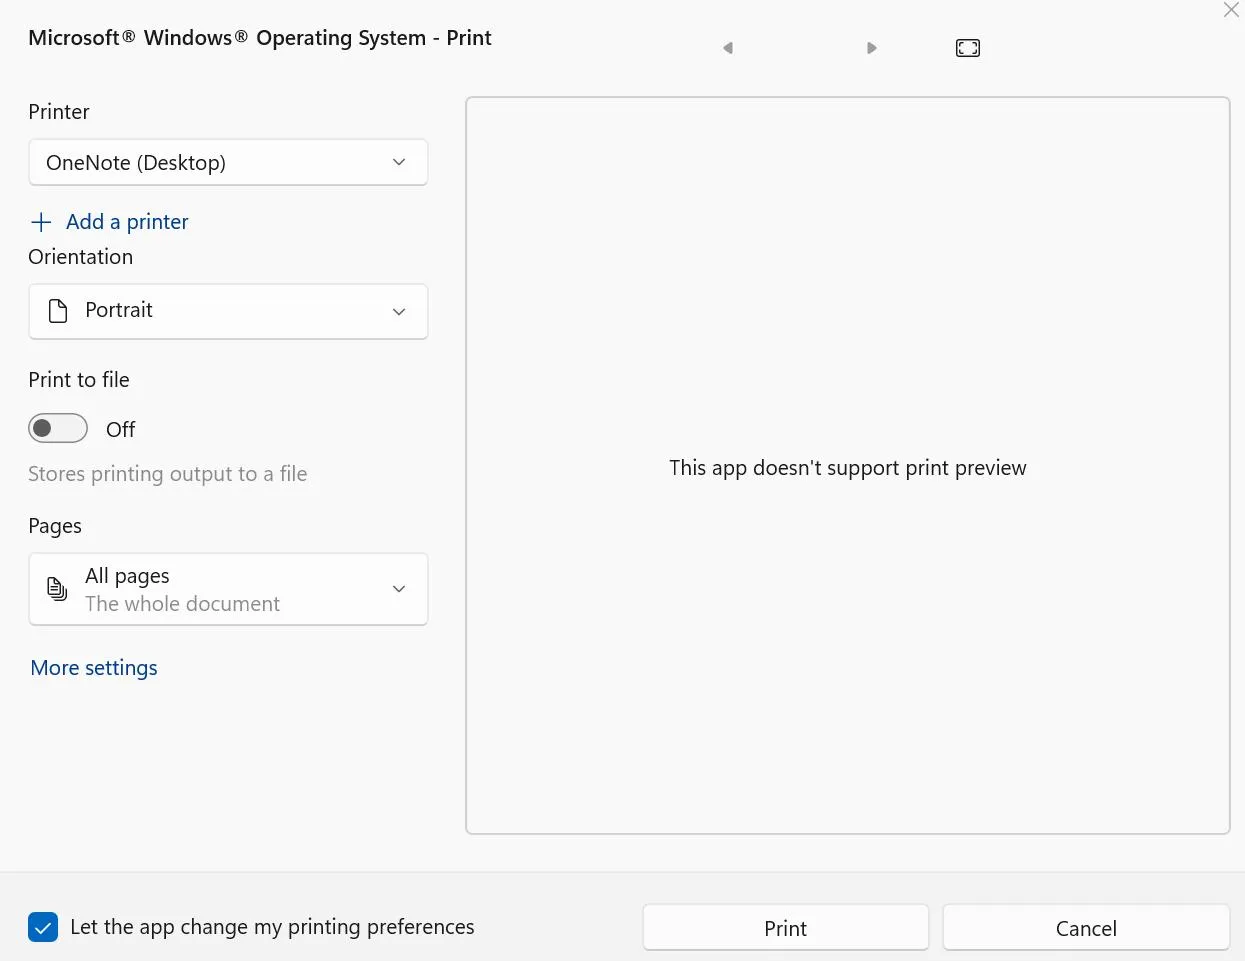
- Choose OneNote (Desktop) and click on the Print button.
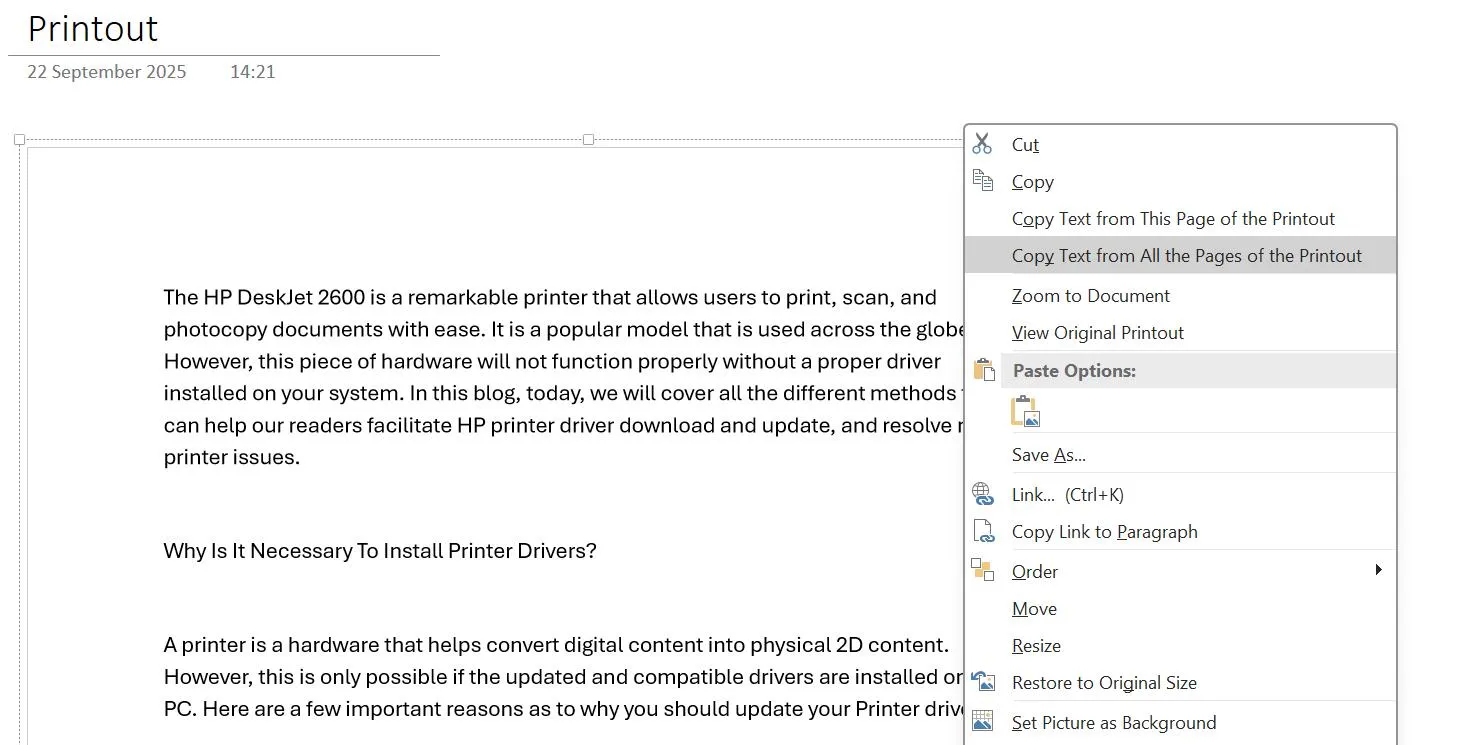
- The OneNote app will open on your PC with all the text transferred from XPS Viewer to OneNote.
- Right-click on the text and choose “Copy Text from all the page of the printout”.
- Now open the Word app and paste the content in a new blank document.
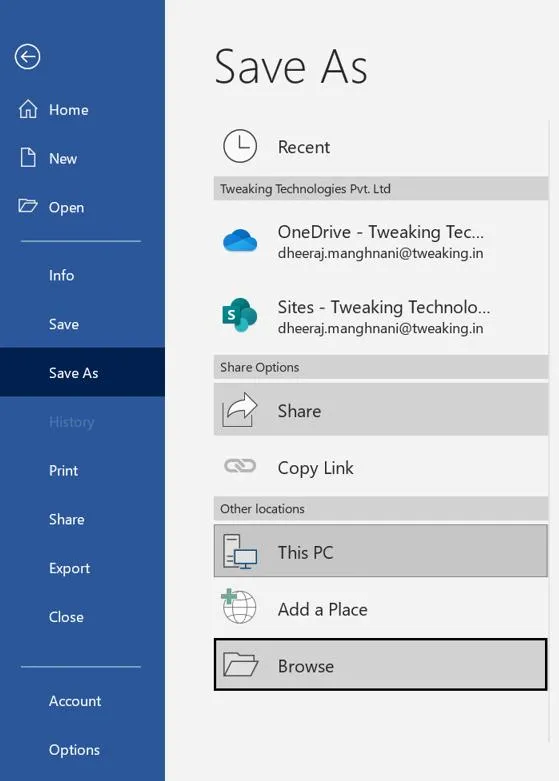
- Click on the File tab on the top-left corner and choose Save As in the left panel.
- Next click on Browse in the right section to open the File Explorer window.
- Choose a name and location of your new PDF file and select PDF from the dropdown next to Save As Type.
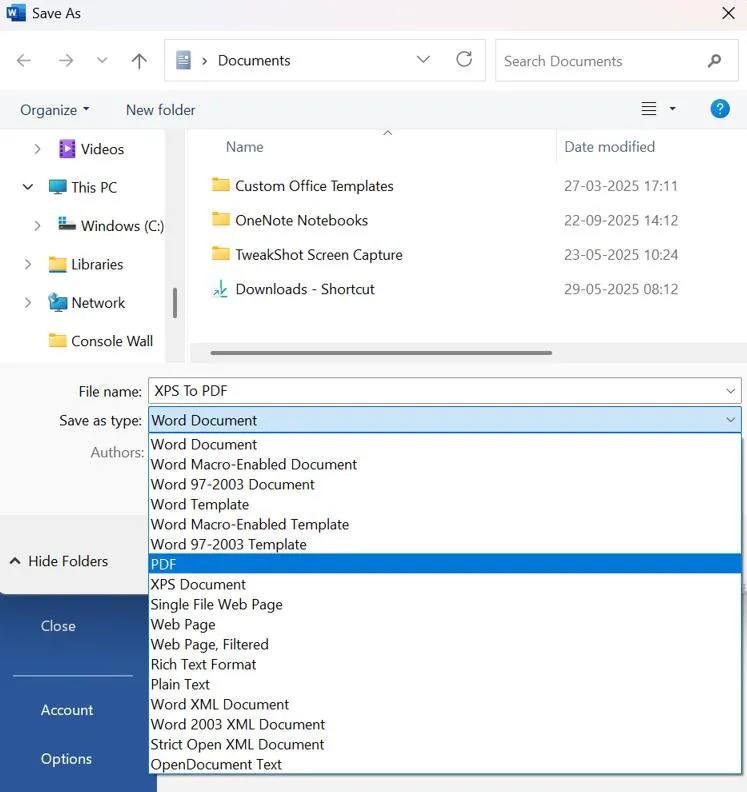
- Click on the Save Button and your XPS has been converted to PDF.

Method 3 – Use Any Online Converter Tool.
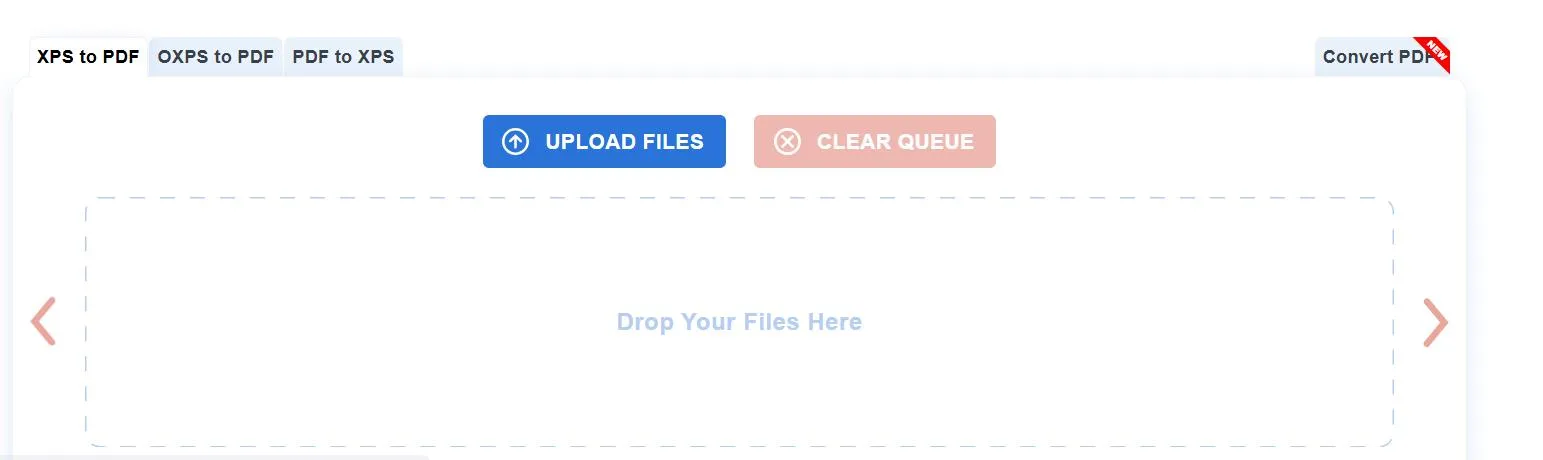
There are many tools available online that can be used to change XPS file into PDF format. One of them is the XPStoPDF.com which is a free, simple and quick tool. However, users have to upload their XPS documents online to the website’s server which is not safe considering data privacy, safety and security. We do not recommend this method unless the content of the XPS file is of no great value.
- Navigate to XPStoPDF.com.
- Click on the Upload Files button.
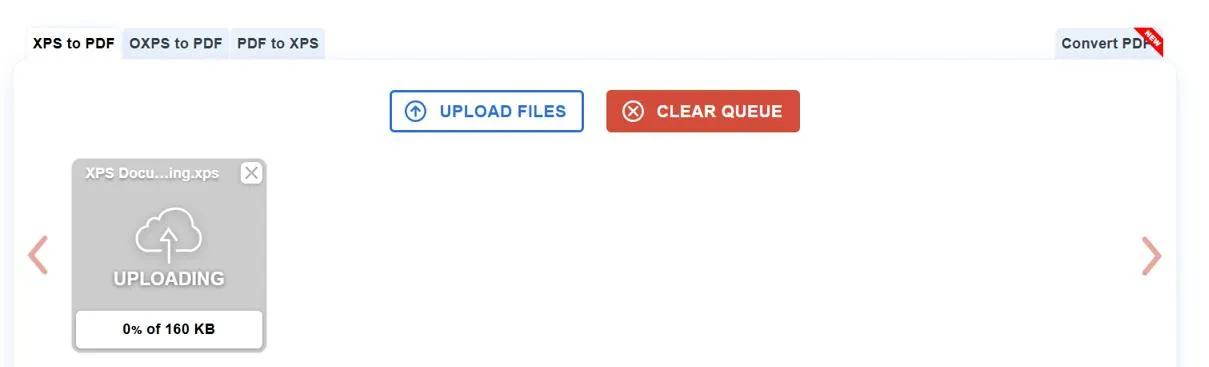
Note – You can upload and convert upto 20 XPS files in one go which means it supports Batch Conversion.
- Once the files are uploaded, theory are automatically converted to PDF.
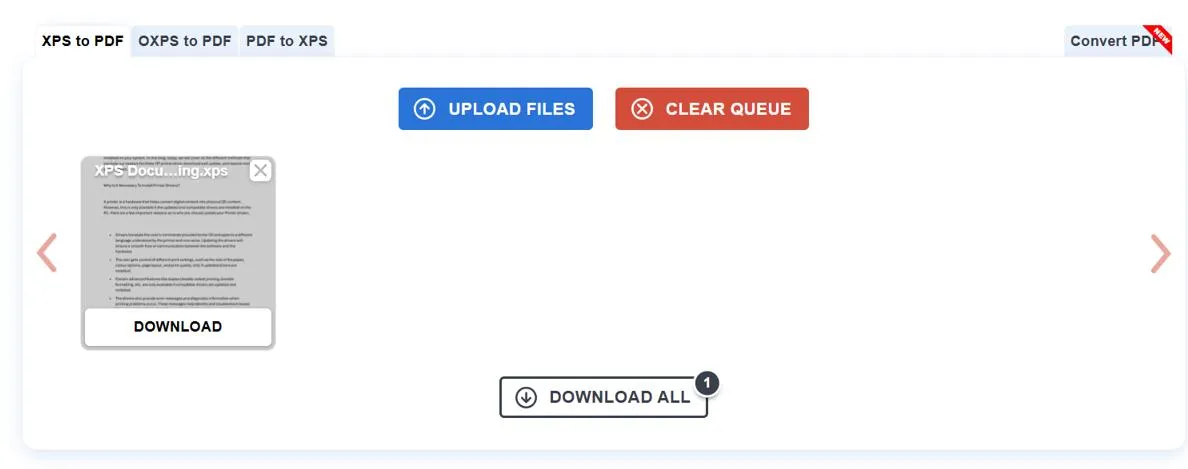
- After the conversion process is completed, Click on the Download button and all the XPS files converted to PDF will be downloaded in a Zip format.
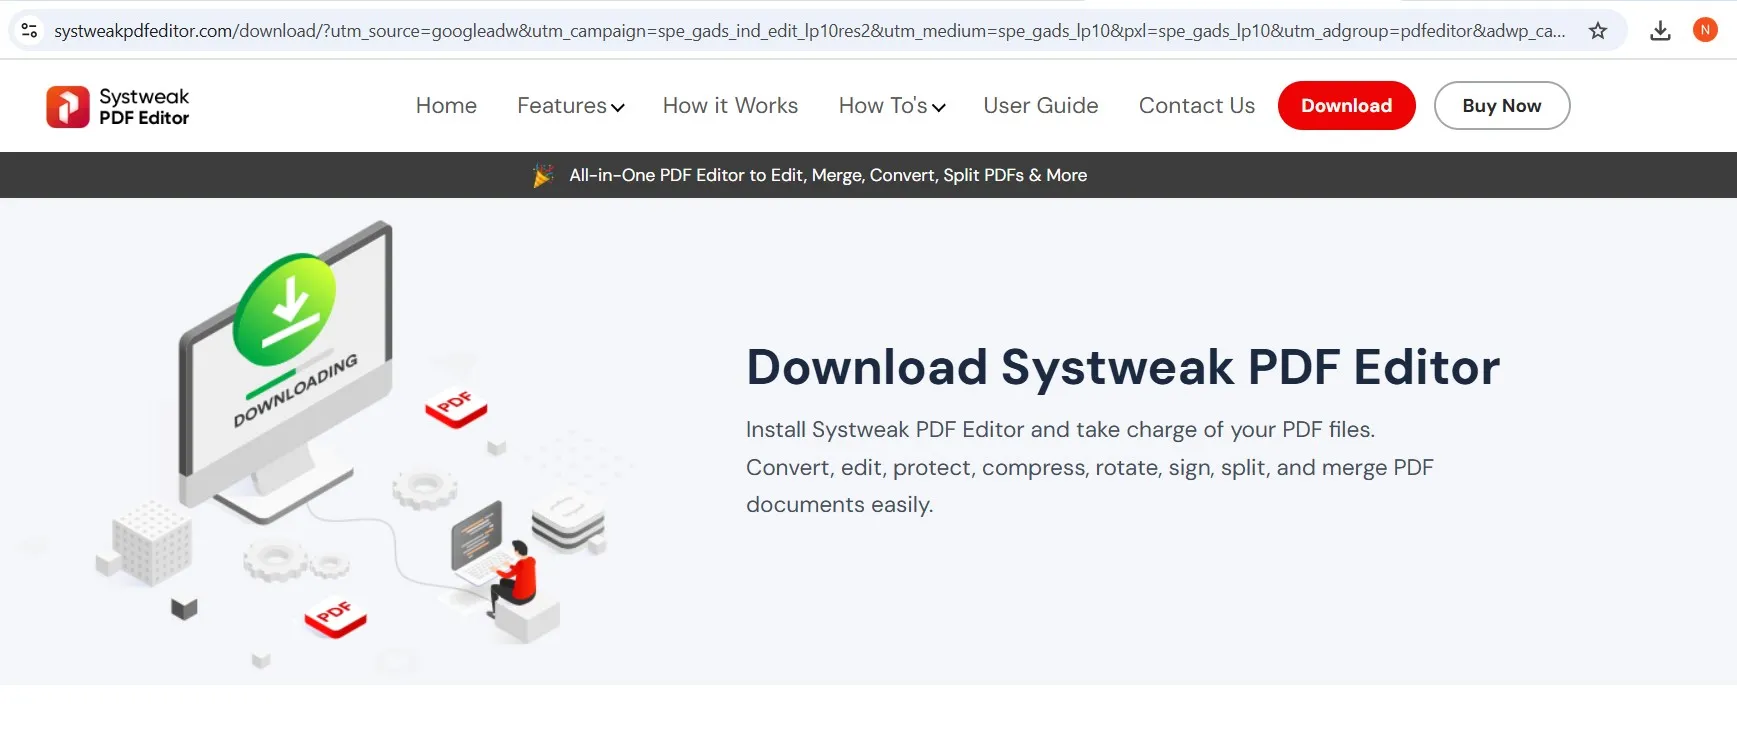
Method 4 – Use Systweak PDF Editor.
Systweak PDF Editor is an offline PDF editor and management software that facililtates online conversion of PDF to various formats and vice versa.
It is very easy to use this software to convert an XPS document to PDF with a few clicks and then make changes to the PDF document if required. Systweak PDF Editor includes, editing,adding, and removing text, images, watermarks, captions, annotations, etc from a PDF document and at the same time manage the pages within the PDF like adding, removing, rotating, changeing the placement etc.
- Download Systweak PDF Editor and install it on your Windows
- Double-click on the downloaded file and follow the onscreen steps to install the Systweak PDF Editor on your PC.
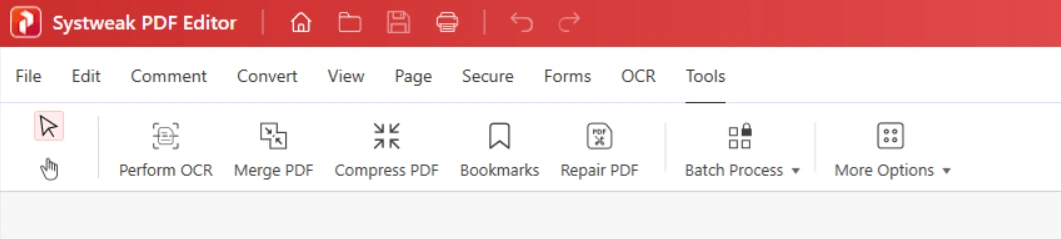
- Launch the app using the shortcut created on the desktop and click on the Convert tab on the top ribbon.
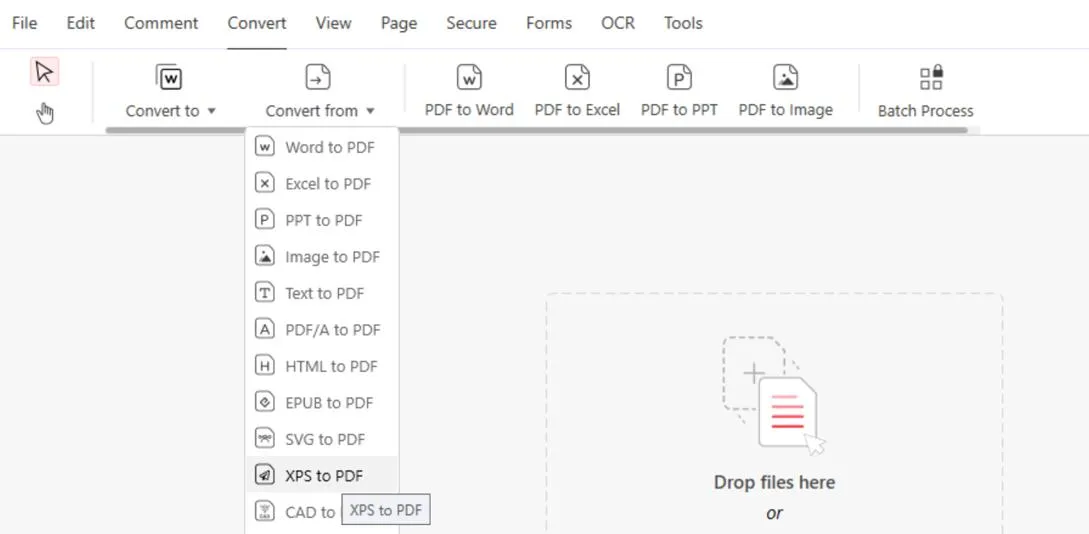
- Now, click on the Convert From option and select the XPS To PDF option.
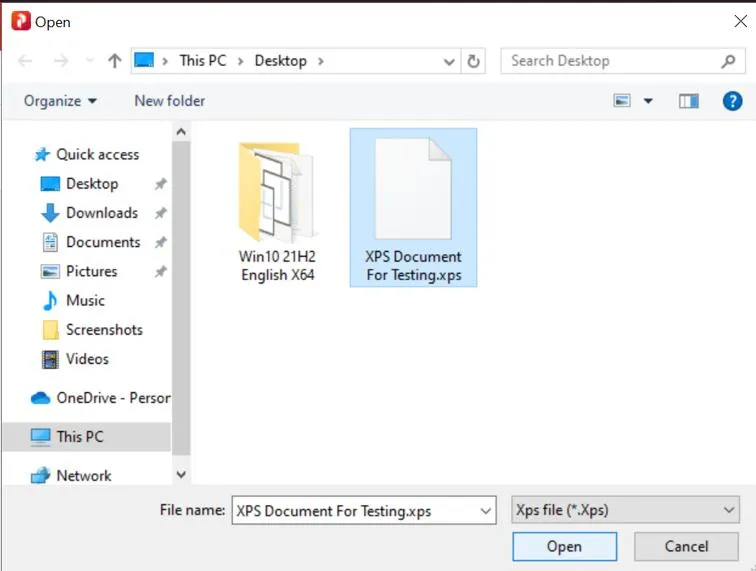
- Use the File Explorer window to locate the XPS file that you wish to convert to PDF.
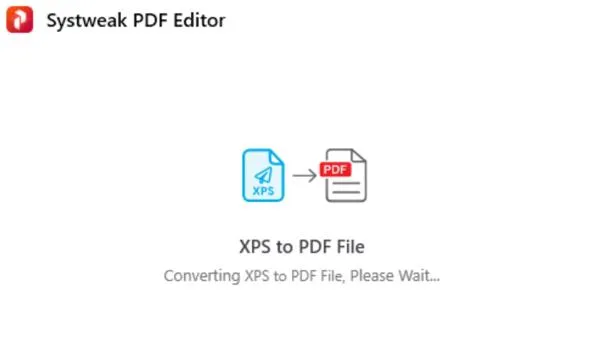
- Wait for the process to complete.
- Click on the Ok button.
Your XPS file has now been converted, opened, and saved in the same location.
Conclusion: On How To Convert XPS to PDF?
We hope that the above methods have helped you on how to change XPS file into PDF. You can try all these methods and then select the best one for yourself. Do write us to which is your favourite method and why in the comments section below.
FAQs
1. Can you convert XPS to PDF?
Yes, any XPS file can be converted to PDF using the methods described above. You can either use any online converter or Systweak PDF Editor for offline conversion.
2. How to open XPS file?
The XPS file can be opened in the XPS Viewer which is a default application provided by Microsoft.
3. Can XPS files be edited?
Yes, XPS files can be edited after they have been converted to PDF document format using the Systweak PDF Editor.